

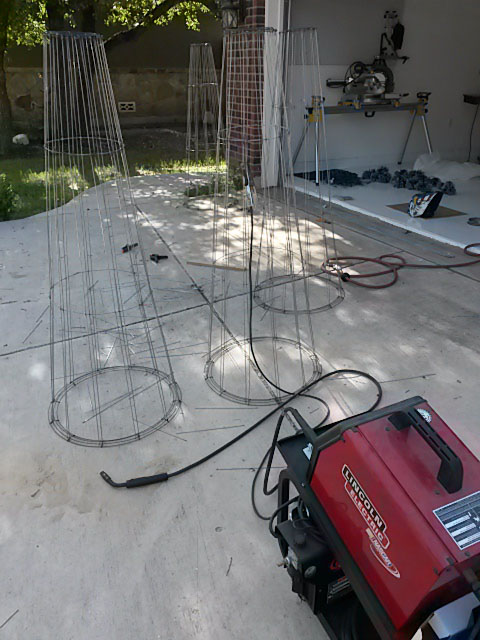
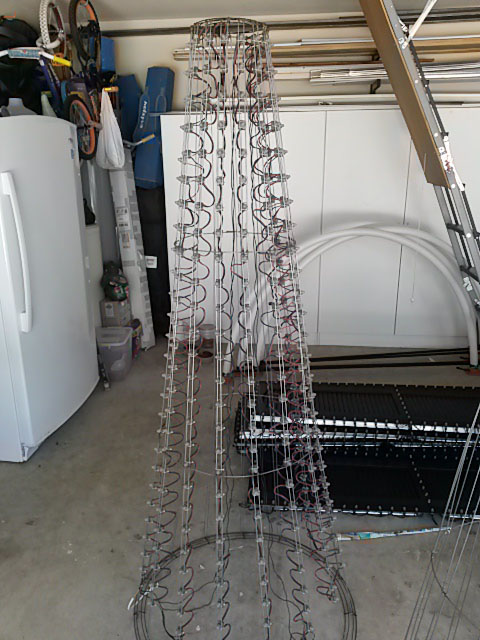
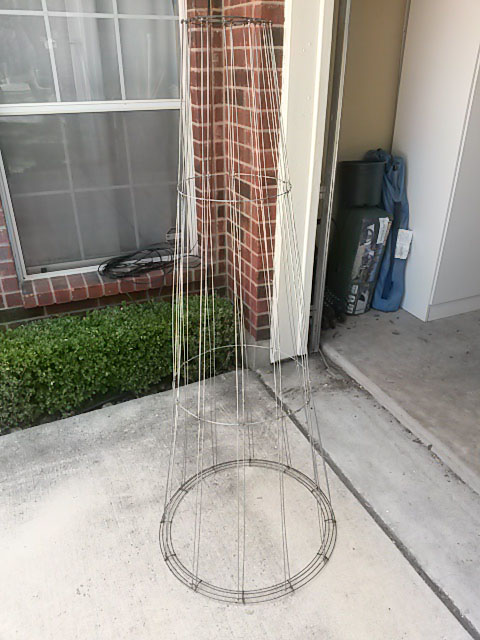
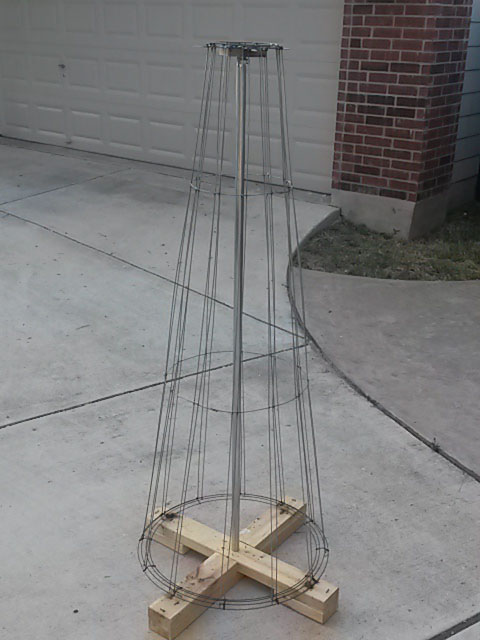
The tops and bottom of the trees are wreath wire frames from Hobby Lobby, the side rails are from Home Depot (they are for suspension ceilings I think? they come in a bundle of 50 for $17.99). I welded them together using a spacing jig and some templates. I can post photos of the jig later if anyone is interested. They worked great last year and I am making several more this year.

Matt,
Great tree design. What are the dimensions? Also, would like to see pics of your jig.
Thanks.
Some are 6 feet tall by 24" base and some are 5" tall by 24" base. I will take pictures of the jig shortly.
XmasInGalt wrote:Matt,Great tree design. What are the dimensions? Also, would like to see pics of your jig.
Thanks.

Now I want a welder.....:(
and my son just borrowed my welder. Gotta get that thing back. Matt, when you post the pics of the jig, it would be great if you have any tips you could share on construction... Thanks.
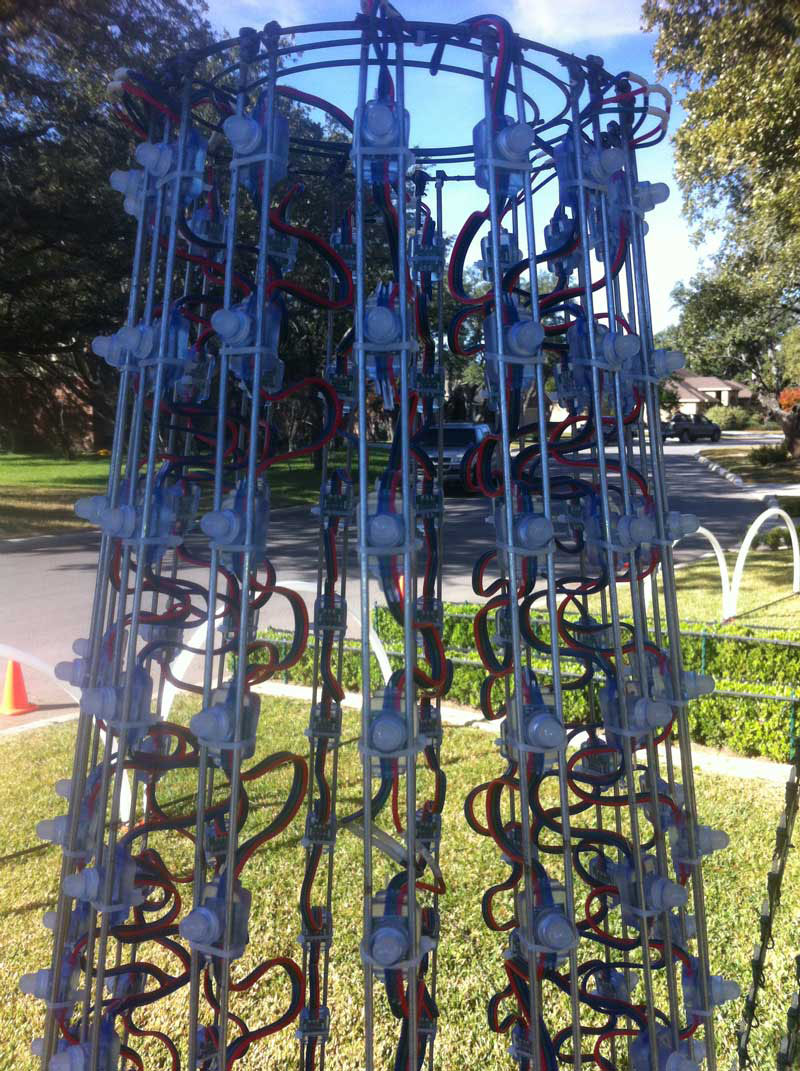
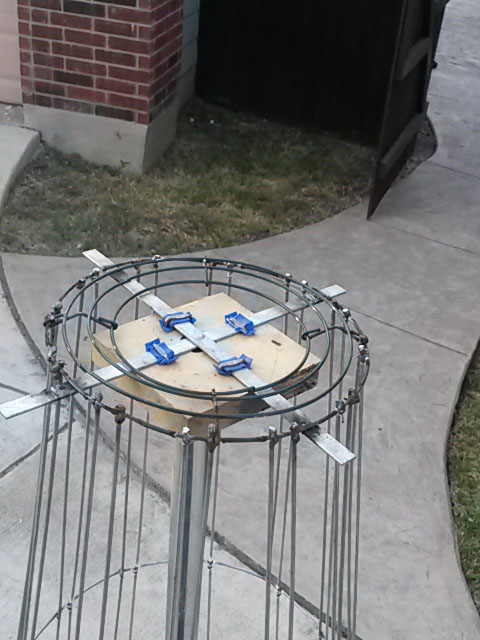
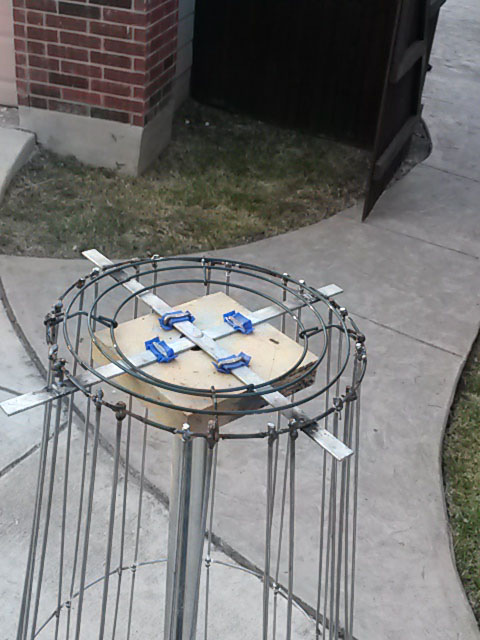
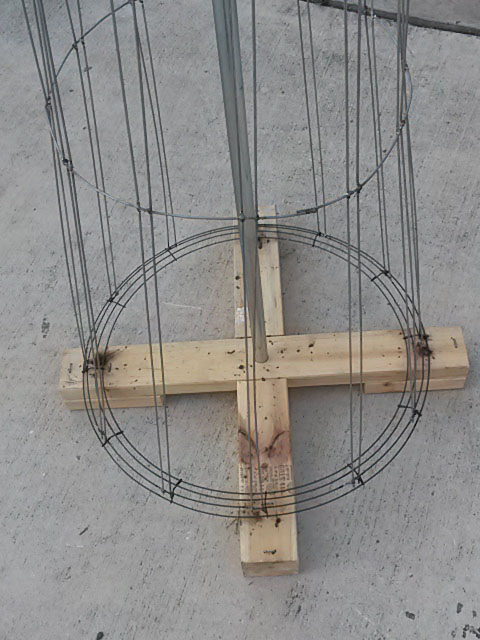
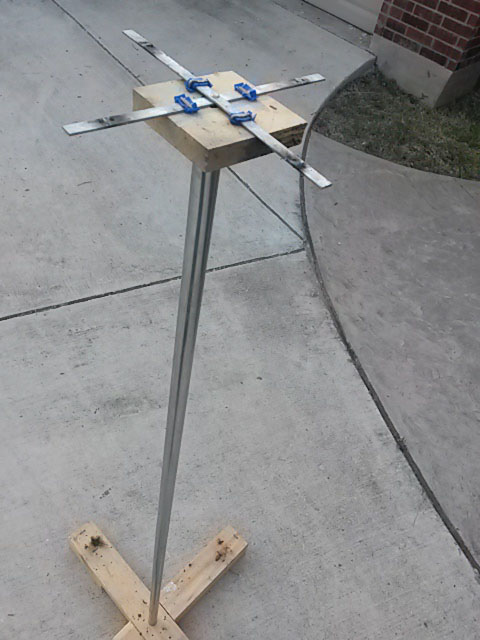
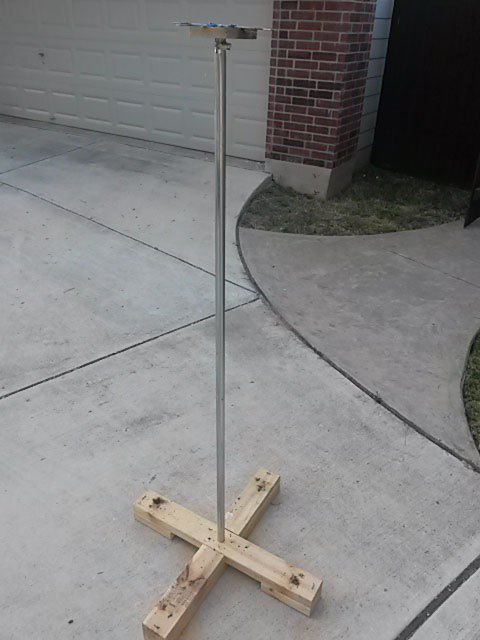
Okay, here is the Jig. Unfortunately I did not take any photos while I was building them. The top and bottom boards on the jig have holes and wood staples that hold the top and bottom circles in place and centered before you have any of the vertical rods welded on. The center pole can be adjusted to telescope up and down for different size trees. You then go around and start tack welding each rod in place. I have two other pieces of the jig not photographed. One helps me make the support rings in the middle of the tree and the other sets the spacing between rods that is just right to fit the pixels. The pixels are then set between the rods and zip tied to keep them in place.
P.S. If you use square pixels make sure to use the ones where the wires exit the back instead of the sides. The ones where they exit the sides (so they can sit flat) are only IP66 instead of IP68.

Awesome concept! Regarding the wires out the back versus wires out the side and ip68 versus ip66... supposedly they are both available ip68, but only if you ask...

Very nice.
I take it you hand bent and welded the intermediate rings.
Yes, that is correct.
algerdes wrote:Very nice.I take it you hand bent and welded the intermediate rings.
If imitation is the sincerest form of flattery, you may feel very flattered - and real soon.
Great idea and implementation.
And now, I too want a welder! :happy: